Novah / A small job, neatly finished
How to clean a toilet. A simple order that works.
It is rarely anyone's favourite household task. A clear order makes it shorter and less awkward. Keep a dedicated cloth and brush, choose products that suit each surface and work from cleaner touch areas towards dirtier ones. Then put the kit away properly.
Go to the steps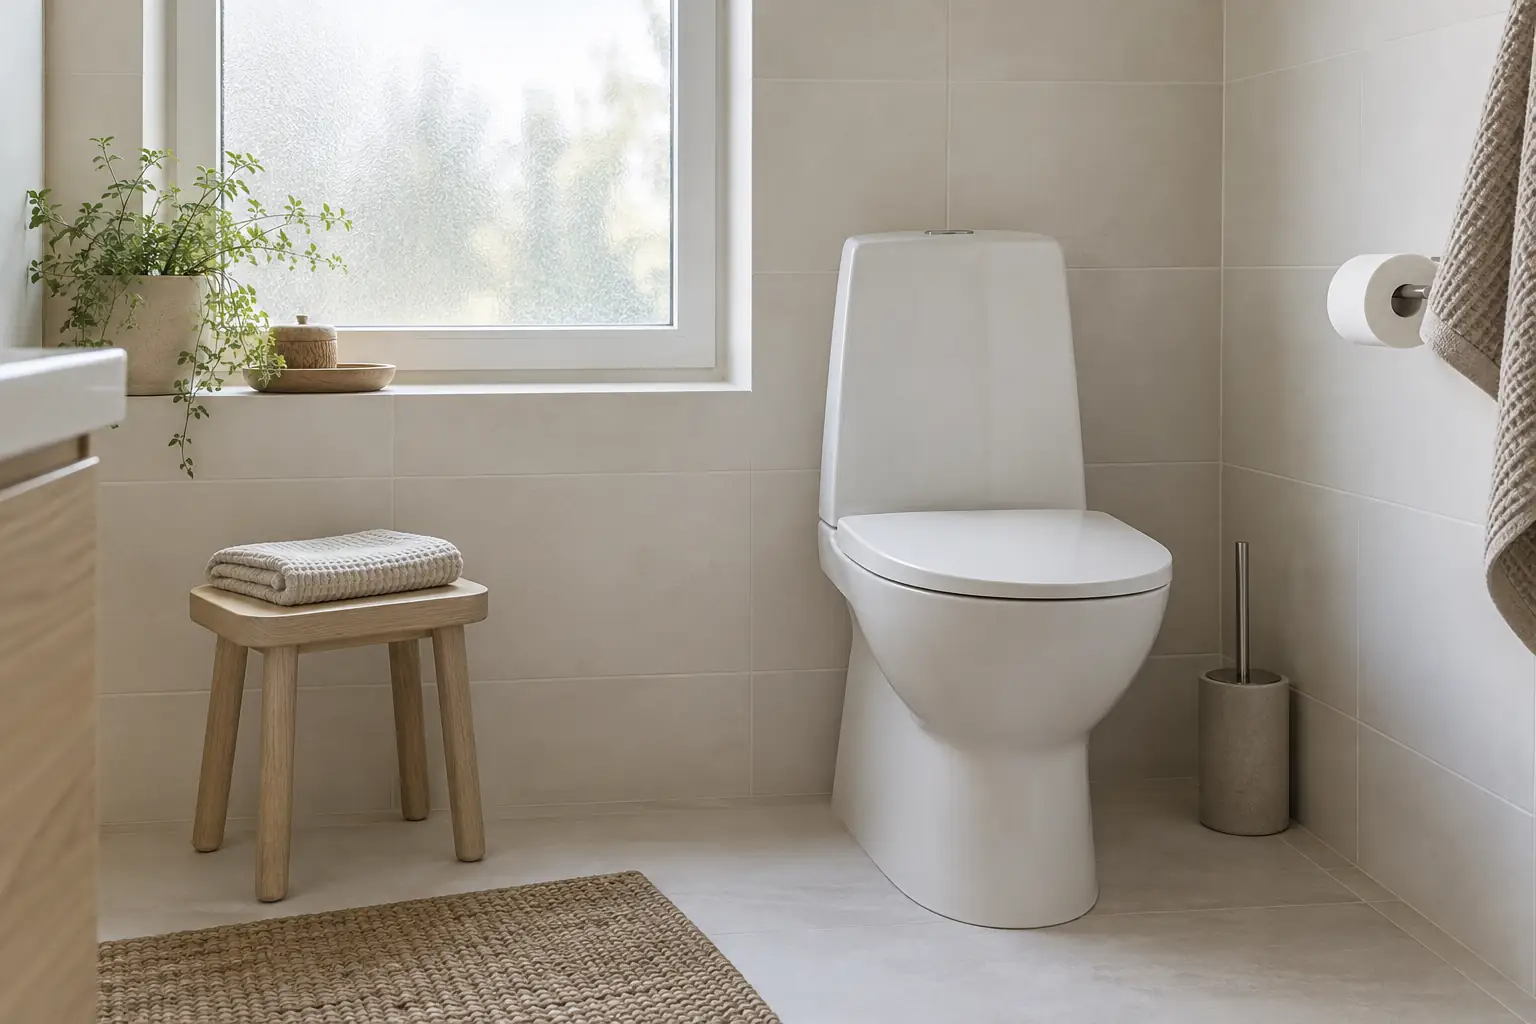
Separate the tools. Work from cleaner areas to dirtier ones.
Use a dedicated toilet cloth, the seat's permitted cleaner and a suitable bowl product if needed. Wipe the flush control, lid and seat without carrying dirt back to clean areas. Brush the bowl and flush as directed, then finish the base and nearby splashes. Clean and dry the tools by their instructions. Never mix cleaners.
Keep the order easy to remember.
Top and touch points
Begin with the flush control and lid using the permitted cleaner and a clean cloth face.
Seat and bowl
Clean the seat by its instructions, then use the separate bowl brush inside.
Base and tools
Finish lower splashes and the base, then clean and dry the dedicated kit.
↘
Three areas, separate attention.
A simple route through the toilet, with the clean cloth kept away from the bowl brush.
Touch surfaces
The flush control, lid and nearby handle need a suitable clean wiping surface.
Seat and hinges
Follow their material instructions and clean both sides where accessible.
Bowl and lower exterior
Use the bowl brush inside. Finish lower exterior areas with dedicated wiping tools.
01 / Before you start
Give the toilet its own little kit.
The bowl brush and the wiping cloth have different jobs.
A dedicated cloth
Keep toilet-cleaning cloths separate from kitchen and other household cloths. Fold or change the cloth so a dirty face does not return to a clean surface. Have a fresh one available if needed.
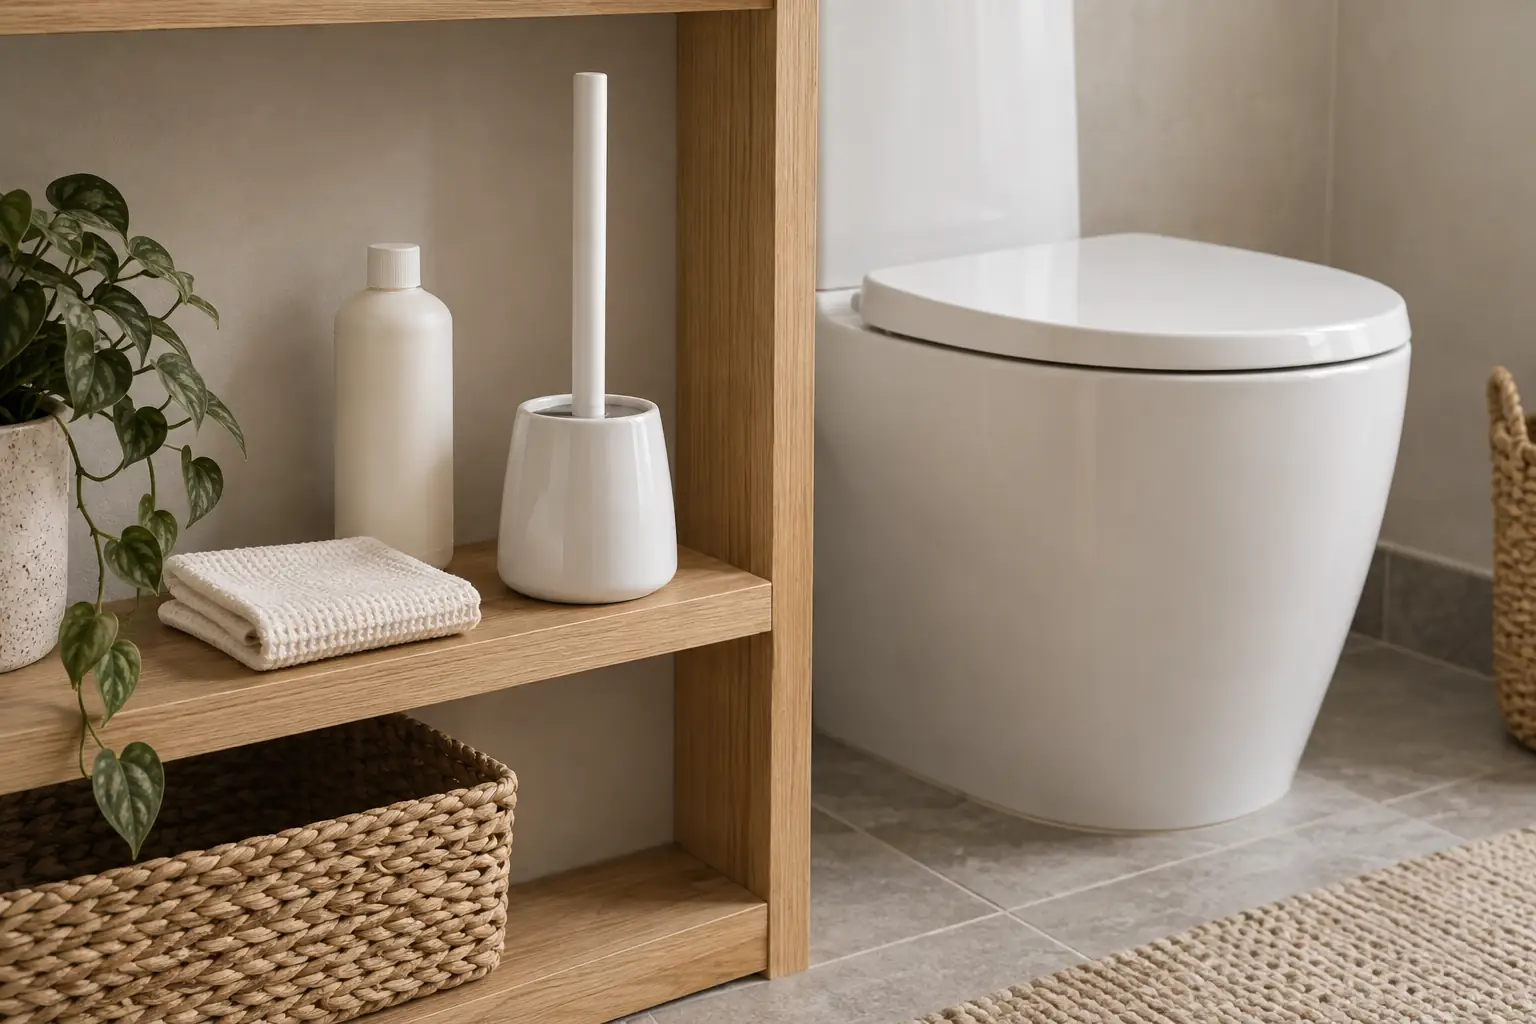
A suitable toilet brush
Choose a brush that can reach the bowl's accessible areas without damaging the finish. Check its condition and holder. Do not use the bowl brush on the seat, handle or basin.
Products for the right surface
The bowl, seat, hinges and flush control can have different compatibility rules. A bowl cleaner is not automatically a seat cleaner. Follow contact time, ventilation and protection instructions.
02 / The steps
A small sequence, not a long ceremony.
Follow product contact times instead of guessing that longer means better.
Prepare the tools and check the flush
Clear nearby items, allow the room's intended ventilation and read the product instructions. Use the specified protection. Check that the toilet drains normally before applying or flushing anything. A blockage, rising water or leak needs attention first; repeated flushing is not a cleaning method.
Wipe the flush control and lid
Use the compatible cleaner by the permitted application method and a clean face of the dedicated cloth. Wipe the flush control, accessible tank surface and lid, then remove residue as directed. Keep liquids out of openings and do not spray an unfamiliar product into hinge mechanisms.
Clean the seat and accessible hinges
Wipe both sides of the seat by its material instructions. Turn or change the cloth as it becomes dirty, rather than returning it to a cleaned touch point. Remove a quick-release seat only if it is designed for that and you know the refitting method. Dry the permitted surfaces without forcing fittings.
Guidance from: IDO · ceramic and seat care (opens in a new tab)
Brush the bowl with its own tool
If the toilet is functioning normally, follow the bowl product's flush and application instructions. Apply only where permitted, respect the contact time and brush accessible inner surfaces and the rim area appropriate to its design. Flush as directed and rinse the brush by its care method. Do not add a second cleaning agent.
Guidance from: Martat · toilet cleaning (opens in a new tab)IDO · ceramic and seat care (opens in a new tab)
Finish lower surfaces and reset the kit
Use the dedicated cloth on the base and nearby splashes, following the surface instructions. Clean the brush holder and wash or dispose of cloths as their care instructions require. Let reusable tools dry appropriately before storage and wash your hands. Keep toilet tools separate from the rest of the cleaning kit.
Guidance from: Martat · toilet cleaning (opens in a new tab)
Keep the tools in their own jobs.
One cloth for the whole home
A toilet cloth should not continue to the kitchen. Change dirty cloth faces during the job too.
Bowl cleaner on the seat
Use it there only if both the product and seat instructions permit it.
Extra products for a stubborn ring
Never mix cleaners. Reassess the surface and follow a single compatible method.
03 / The finishing touch
Done. You can leave the bathroom now.
Deal with visible splashes when they happen and clean at a practical interval for your household. Keep a sound brush and a separate cloth ready. The task does not need to become a ritual; a sensible order and the right tools do most of the organising.
- Store toilet tools separately.
- Clean the holder and care for reusable cloths.
- Persistent stains, leaks or damaged fittings need the appropriate advice.
04 / Questions
Questions
Can I leave a toilet cleaner overnight?
Only if its label and the toilet's surface instructions explicitly allow that contact time. Do not turn a short treatment into an overnight soak by habit.
Can the same product clean the bowl and seat?
Only where it is compatible with both surfaces. Many bowl products have different limits from seat cleaners. Check the product and seat instructions instead of assuming.
Guidance from: IDO · ceramic and seat care (opens in a new tab)
What if a dark or coloured ring stays?
Check whether it is removable residue or a finish-related mark. Use the maker's compatible stain guidance. A permanent mark does not justify abrasive scraping or mixed chemicals.
Does this replace a whole bathroom-cleaning plan?
This page covers the toilet itself. Shower glass, tile grout and the floor drain have separate guides. The weekly routine brings the household tasks together without repeating every detailed method.
Sources & material instructions
Novah
Hand over part of the household routine.
Tell Novah what you would like us to focus on during a home clean. We can discuss the bathroom and the booked scope. Plumbing faults, damaged fittings and specialist treatments need to be handled separately.
Plan your home clean