Novah / Small lines, a noticeable difference
How to clean tile grout, one line at a time.
The tiles look fine, but the lines between them are keeping a record of bathroom life. Start by finding out what those lines are made from. Mineral grout, epoxy grout and flexible silicone joints are different surfaces. A little identification saves a lot of enthusiastic scrubbing.
Which joint are you cleaning?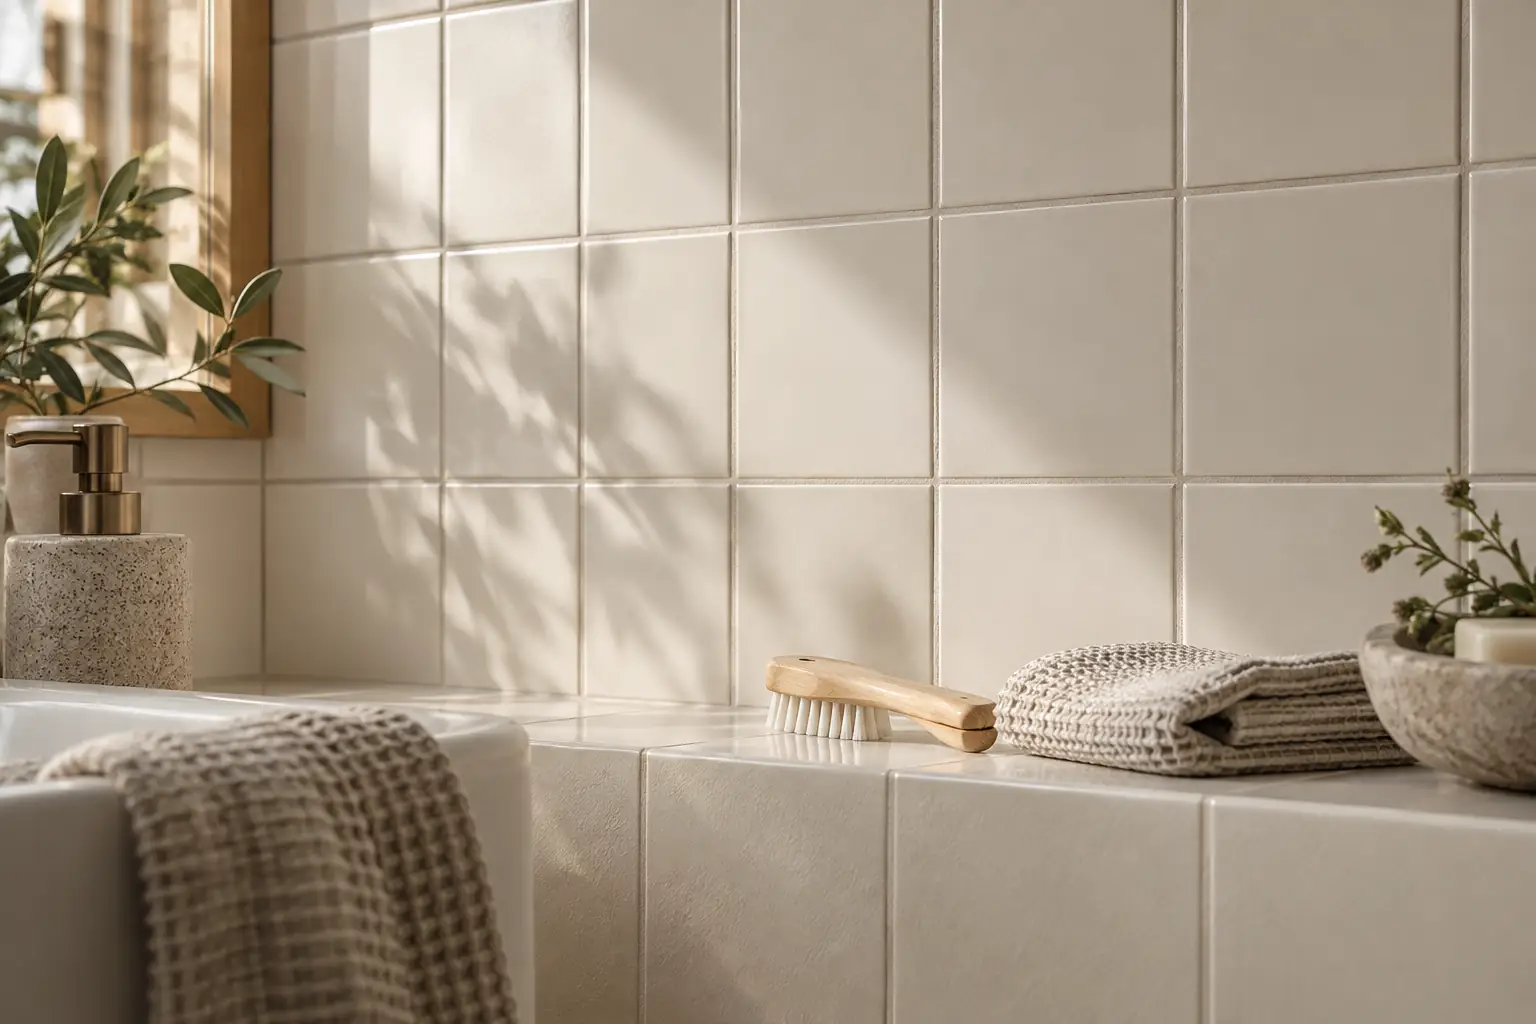
Identify the joint, choose gently and rinse fully.
For ordinary dirt on intact tile grout, use a cleaner allowed for the grout and surrounding tile, with a suitable soft brush. Follow dilution, contact time and any pre-wetting instructions, work gently and rinse away residue. Wipe silicone by its own care method rather than brushing it. Damaged joints or persistent staining need assessment.
↘
Read the lines before the brush.
A bathroom has more than one kind of joint.
Tile surface
Confirm whether it is ceramic or a different material. A cleaner must suit both the tile and the joint.
Grout between tiles
Check its type and condition. Loose, cracked or missing grout needs attention before cleaning.
Flexible corner joints
These may be silicone. Use their wiping instructions; do not treat them like hard grout.
01 / Before you start
Match the tool to the joint.
The grout and the tile both need to tolerate what you use.
Material information
Check renovation records, product instructions or ask the owner or building contact. Cement-based grout, epoxy and silicone can need different care. Natural stone beside a joint adds another compatibility check.
A suitable soft brush
For grout that permits brushing, choose a small soft nylon tool with enough reach for the line. A wire brush or sharp scraping edge is not an ordinary cleaning tool. Use a cloth on silicone.
Compatible cleaner and rinse water
Start with the mildest approved method for ordinary dirt. Follow the label's dose and contact time, and prepare to remove residue properly. Do not make an acid or bleach mixture.
Which joint are you cleaning?
Use the product records or building information to identify it.
The grout's approved cleaner and soft brush
Follow any pre-wetting, contact-time and rinsing instructions. Acidic products can affect cement-based materials, so compatibility matters.
Unapproved acid, a wire brush and repeated aggressive scrubbing.
02 / The steps
A manageable section beats the whole room.
Clean a small area, inspect it and continue only if the method suits the surface.
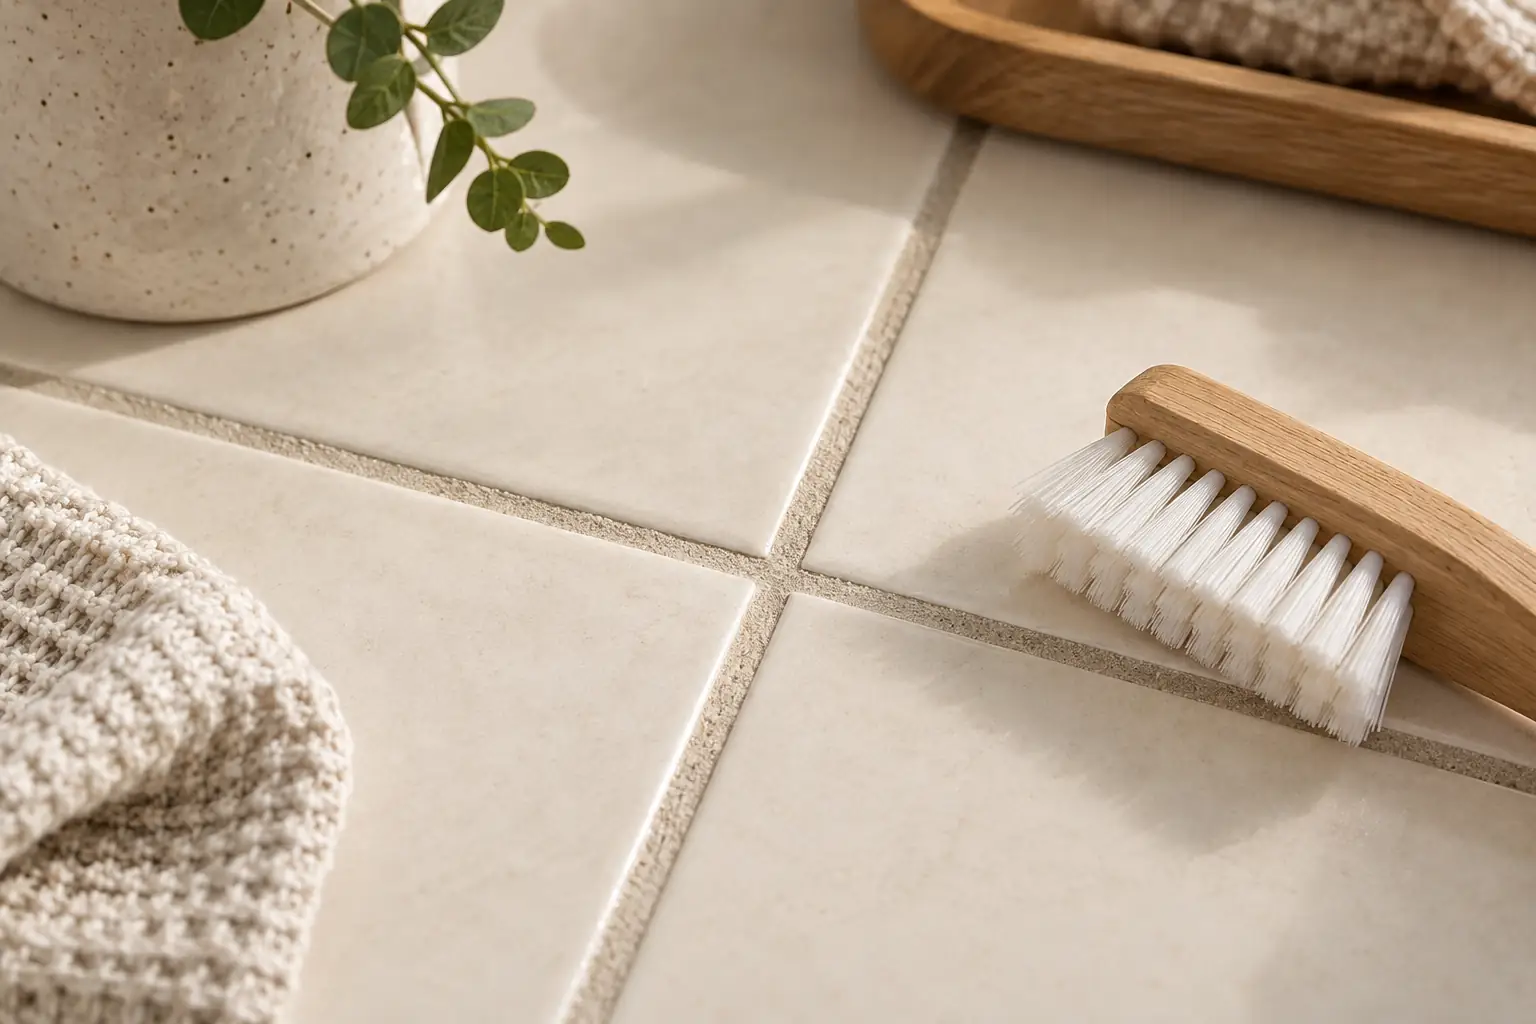
Check the material and condition
Identify the grout and tile, including any flexible joints at corners. Look for cracks, gaps, loose material or places where a joint has separated. If there is damage or an unclear persistent dark mark, ask the owner, building maintenance or a suitable professional before escalating the treatment.
Choose the mild approved method
Select a product permitted for the exact grout and nearby tile. Read dilution, protection, contact-time and rinse instructions. Test a small inconspicuous area where directed. Prepare enough rinse water and keep unsuitable products off neighbouring surfaces. Never combine cleaners to create a stronger treatment.
Guidance from: Martat · tiles and grout (opens in a new tab)
Work the grout gently
Follow any pre-wetting instructions, then apply to a manageable area by the allowed method. Brush intact grout with a compatible soft tool and gentle pressure. Stop if the surface crumbles or changes. Leave flexible silicone to a separate cloth wipe instead of carrying the grout brush across it.
Guidance from: Martat · tiles and grout (opens in a new tab)
Rinse away the residue
Remove the cleaning solution fully as its label and the grout instructions describe. Do not leave it to dry into the line, and do not extend the contact time by habit. Take care of the surrounding tiles and any material the product was allowed to touch. Change dirty rinse water so you are not spreading residue.
Dry and inspect the result
Remove excess surface water by the suitable method and let the room dry with its intended ventilation. Check the cleaned section in ordinary light. Some colour variation may be part of the material or age, rather than removable dirt. A cleaning session should not become a joint-repair experiment.
Guidance from: Martat · tiles and grout (opens in a new tab)
Keep the joint intact.
Acid for every dark line
A stain is not proof of limescale. Acid can affect cement-based grout and nearby sensitive materials.
Brushing silicone like grout
Flexible joints can be damaged by brushing. Follow their wiping instructions.
A cracked joint just needs a scrub
Cleaning cannot close a gap or repair missing material. Arrange assessment before trying stronger treatment.
03 / The finishing touch
Let the lines stay a smaller job.
Dry accessible wet surfaces after use where practical, keep the room's intended ventilation working and deal with ordinary residue before it becomes a project. A grout line can be clean without matching the colour of the day it was installed.
- Remove cleaner residue instead of letting it dry.
- Keep the brush for compatible grout, not silicone.
- Persistent staining, gaps or loose grout need maintenance advice.
04 / Questions
Questions
Can I clean grout with vinegar?
Do not assume so. Acidic cleaners can affect cement-based grout and nearby stone or other sensitive materials. Use only a method permitted by the grout and tile instructions.
Guidance from: Martat · tiles and grout (opens in a new tab)
Is silicone the same as tile grout?
No. Flexible silicone joints have different care. Martat recommends wiping silicone rather than brushing it. This guide does not cover removing or replacing a joint.
Guidance from: Martat · tiles and grout (opens in a new tab)
Will cleaning make every grout line white?
Not necessarily. Original colour, age, wear and permanent staining affect appearance. Stop when a compatible clean is finished rather than trying to scrub away the material itself.
Does this guide cover the floor drain?
The drain has its own removable parts and cleaning sequence. Use the linked floor-drain guide for that task; these steps stay focused on intact grout between tiles.
Sources & material instructions
Novah
A little help for the bathroom routine.
Tell Novah about the tiles, joints and areas you want included in a home clean. Confirm specialist treatments separately. Repairs, damaged joints and persistent staining need suitable maintenance advice.
Ask about bathroom cleaning