Published
Home lifeDrying laundry in a small Finnish apartment
Give wet clothes room to dry while keeping the apartment usable. A practical rack setup, ventilation tips and a compact product option.
Written by  Novah Team
3 min read

Quick answer
Start with well-spun laundry, leave gaps between garments and choose a ventilated spot with a clear walking route. A small rack works best with smaller loads.
Pick the drying spot before starting the wash
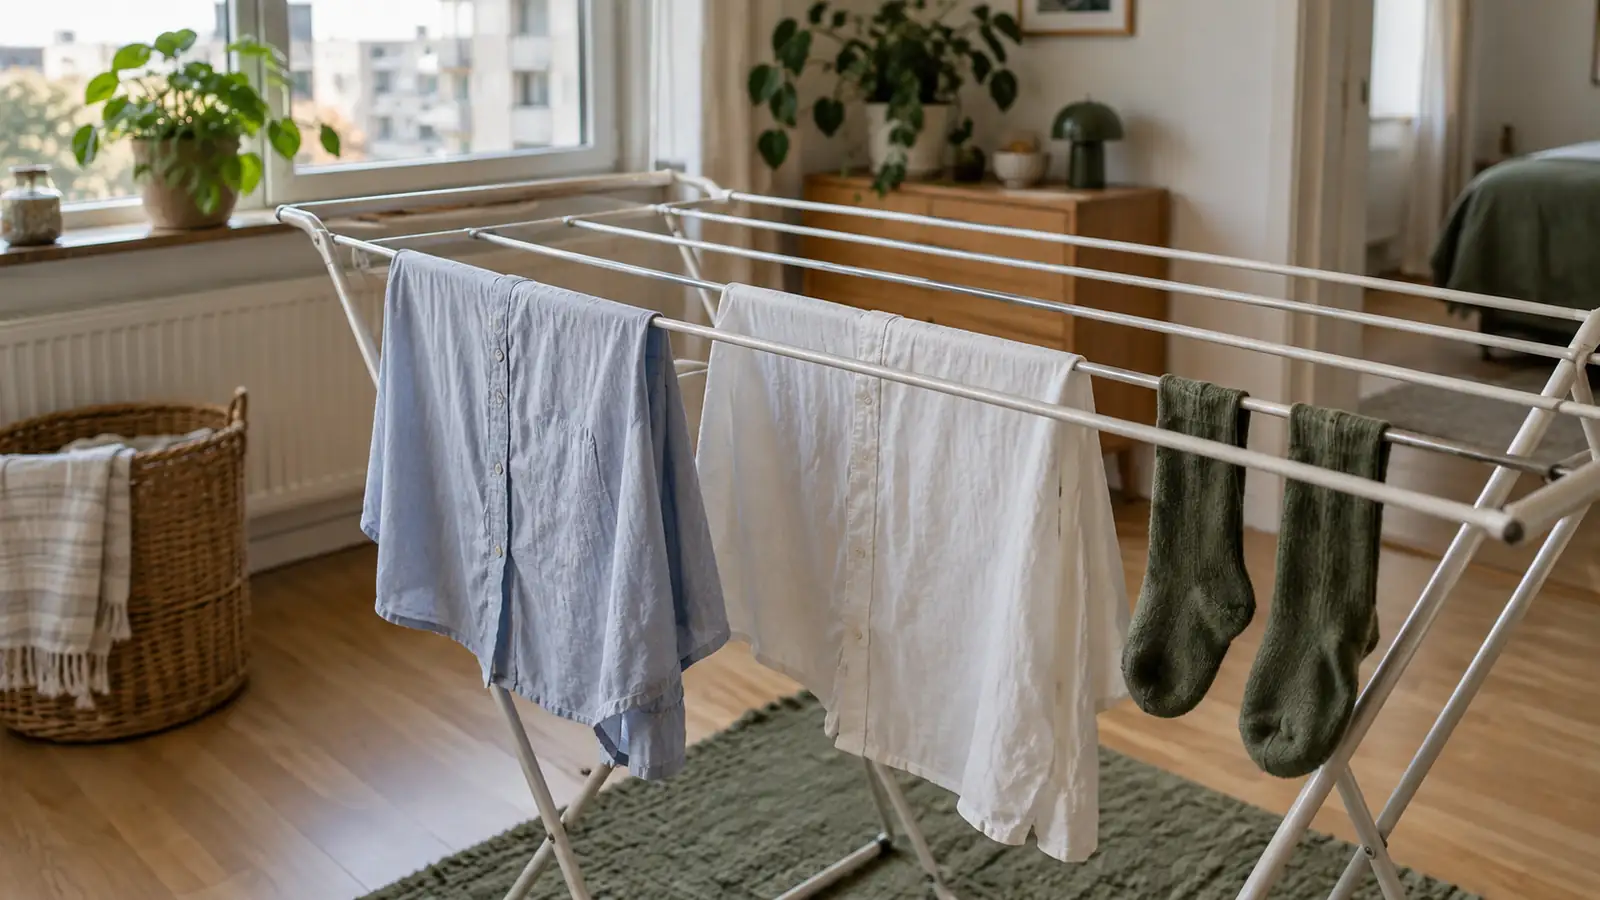
A drying rack has a remarkable talent for appearing exactly where you want to walk. Pick its spot before the washing machine starts: somewhere with working ventilation, room for air around the clothes and a clear route past it.
Start with well-spun laundry, shake each garment open and leave gaps between pieces. If the load only fits when everything overlaps, split it between two drying sessions or use your building's drying room. A rack is a place for wet clothes to dry, not a competition to fit the whole wardrobe on one bar.
A bathroom can work when its ventilation removes moisture and the rack leaves the shower usable. An airy living-room corner can work too. Keep clothes clear of radiators, ventilation openings and cold window glass. A sunny-looking window alone does not tell you how well the room removes moisture.
Hang a load so the middle can dry too
- Take the laundry out when the wash finishes. Shake shirts and trousers open before hanging them.
- Give each item a separate section of the rack. Open pockets and unfold doubled-over fabric where practical.
- Put bulky towels on the outer bars with space beside them. Keep smaller pieces apart instead of laying them across the towels.
- Check thick seams, waistbands and cuffs before putting anything away. The middle can still be damp when the outside feels dry.
- Remove dry pieces as they finish. The remaining clothes gain space and the rack gets smaller in stages.
For an item marked for flat drying, use a flat drying surface to help it keep its shape.
Help moisture leave the room
Motiva's guidance on household moisture (Opens in a new tab) identifies indoor laundry as a moisture source. It recommends a well-ventilated drying space and temporary ventilation boosting where the system provides it.
If your home has a resident-operated boost setting, use it temporarily to remove the extra moisture and return it to normal afterwards. Keep ventilation openings unobstructed. A brief cross-draught can help when conditions allow.
When clothes repeatedly stay damp and the windows collect condensation, reduce the drying load and try the building's drying room. Report persistent ventilation problems to maintenance with the room, date and symptoms. You have already tried the useful household changes; the next step is getting the airflow assessed.
A compact rack you can actually measure
IKEA JÄLL (Opens in a new tab) is a folding rack with a 79 × 40 cm footprint, an 82 cm height and six metres of drying line. That makes it a concrete option for a small load. It folds flat afterwards.
Measure the floor space with the rack open and add room to walk past it. Also measure the place where you will store it folded. Buying a small rack and washing smaller loads can be a better fit than keeping a large rack permanently between the sofa and the kitchen.
IKEA Espoo in Lommila (Opens in a new tab) is at Espoontie 21. The product page lets you select a store for availability before making the trip.
Make the rack disappear after laundry day
Put fully dry clothes straight into their usual places, fold the rack and return the empty basket. One small basket for items still drying is easier to manage than a second clothing landscape on the armchair.
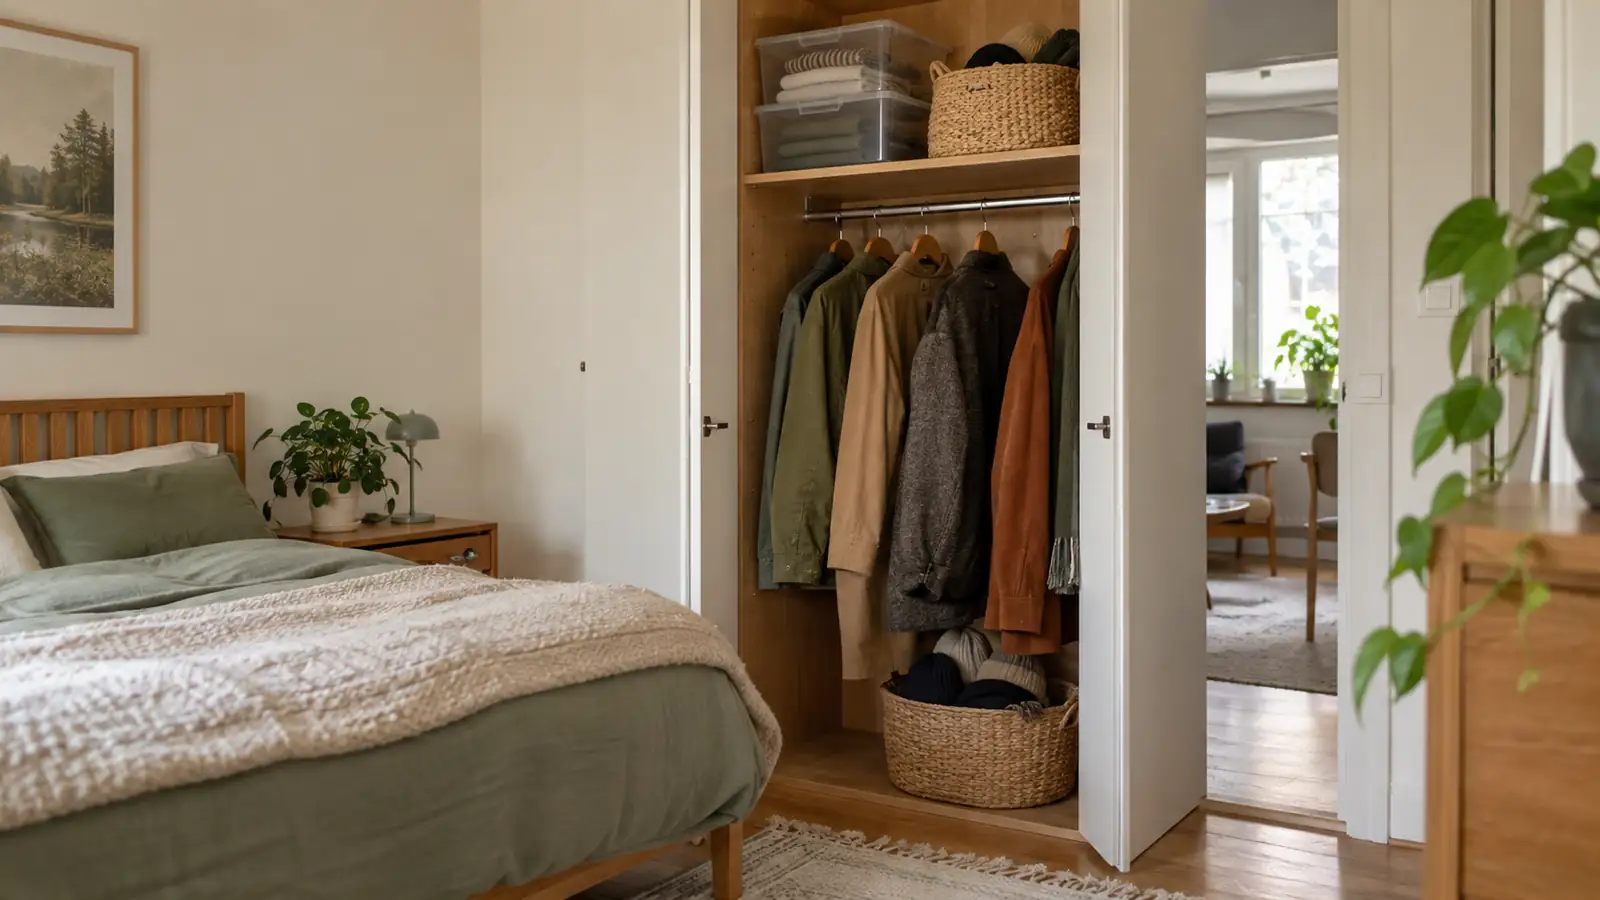
If the cupboard itself needs a rethink, try our seasonal clothes storage plan. For the energy side of laundry and drying, see everyday electricity use at home.
Your finished setup is simple: dry clothes, an empty rack and a living room you can walk through.
Before you put the laundry away